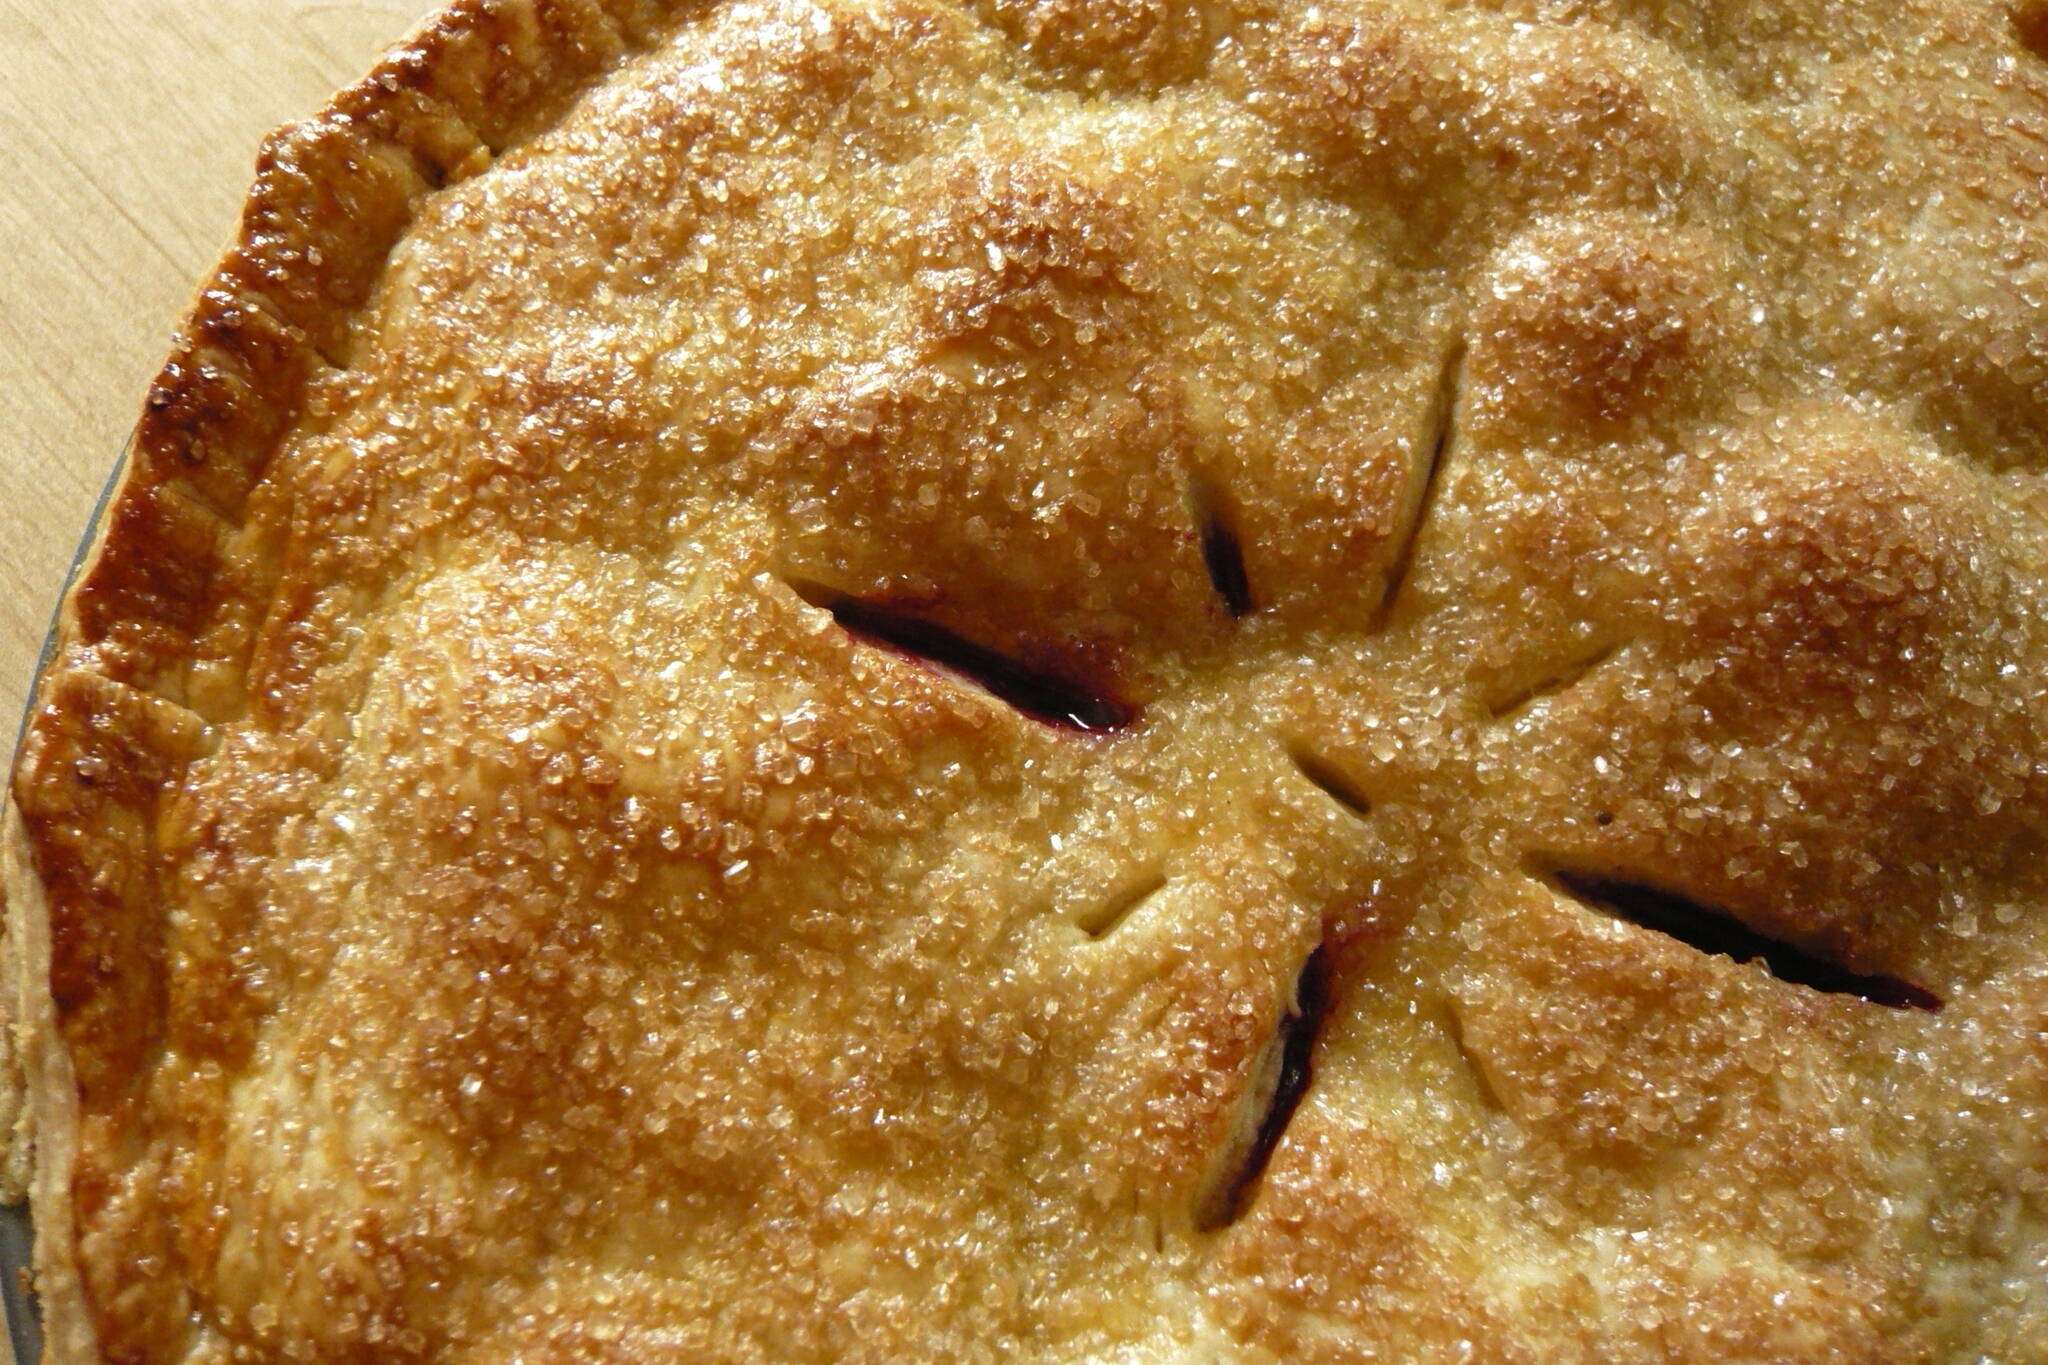
My mother made beautiful, but inedible pie crusts, usually left languishing on dessert plates, denuded of filling which had been scooped off by wary guests. As I got older and took over more cooking duties (to my family’s relief), I decided to learn how to make a pie crust that was actually good. For years I faithfully followed Betty Crocker’s instructions, but to no avail. Crisco and tap water and flour mixed together. Sure they tasted better than my mother’s, but preparing them was a nightmare. I would carefully roll out the dough only to have pieces of it stick to the rolling pin. I tried using wax paper or plastic wrap but the pie crust would still end up a jigsaw puzzle, patched together with my warm fingers. At least the filling covered its flaws.
Then I went to cooking school and learned the secret of a great pie crust. It’s simple. All ingredients are very cold. This includes the fat (butter, shortening, or both) and ice water rather than cool tap water. Using soft shortening or butter and cool tap water, the way I had always done it binds the butter with the flour and makes it tough and unmanageable. Making sure that the fat used in the pie dough is in small bits in the flour results in a flaky crust.
•••••
Pastry dough for a one-crust pie:
Step One:
In a food processor or a large bowl, place 1¼ cup of all-purpose flour. Add ½ teaspoon of salt and pulse the processor for a few seconds to blend.
Step Two
Cut up one cube (½ cup) of very cold (refrigerated ) and/or shortening into small cubes. Add to food processor and pulse until the mixture looks like large crumbs. Do not blend into a homogenous state. It is important that the butter is still visible in bits. If you don’t have a food processor, cut the butter into the flour with a pastry cutter.
Step Three:
Turn the flour/butter mixture into a large bowl and sprinkle three tablespoons of ice water onto the mixture, stirring with a fork. If too dry to form into a dough, add an additional tablespoon of water. You do not want a wet dough. Bring the mixture together gently into a ball. Pat it out into a flat ½-inch-thick disk about six inches across.
Step Four:
Wrap the disk in plastic wrap and chill in the refrigerator for ½ hour. This can also be chilled overnight, but it will need a few minutes to rest at room temperature to soften enough to roll out. Chilling the dough is essential because it prevents the fat in the dough from merging into the flour. It is the separation of fat and flour that makes the pie crust flaky.
Step Five: Rolling out the dough
Lightly dust your working area with flour. Place the disk on the flour, and dust more on the top. With your rolling pin, press down then do a quarter turn. Begin to roll it out, doing your best to keep it round by turning the dough each time you roll it, dusting it with flour as necessary to keep it from sticking to your work area. By turning the dough and dusting it with flour, it will not stick and should be easy to handle.
When the pie crust dough has been rolled out large enough to go into a pie pan, you should be able to fold it gently in half and pick it up to put in the pan with enough dough hanging over the top of the pie pan to crimp as you wish.
Your guests will love your pie and the crust will disappear.
• Patty Schied is a longtime Juneau resident who studied at the Cordon Bleu in London, has cooked meals for both AWARE and the Glory Hall, and has written a cookbook. Cooking For Pleasure appears every other week in Capital City Weekly.

